So I decided to make a Fall Leaf Garland. And thought I'd share with you how I made it.
The first thing I did was cut two WOF by 4" to make my own binding type string.
I sewed the two pieces together then ironed them in half, folded them onto themselves...
 and fold again to sew. I used a zig zag stitch.
 I traced around a leaf to use as a pattern.
And you know those left over pieces of batting?
 They will work perfectly for this garland.
Cut 6" x 11 1/2" from several different pieces of fall fabric.
Fold the fabric in half, pin your pattern on the TOP piece of fabric,
and be sure that your stem is on the fold.
Cut around the TOP piece of fabric only. Then place your batting in between the folded fabric, and sure that your string is at the top of fold.....
 (showing the piece of fabric for the free form leaf)
Pin.
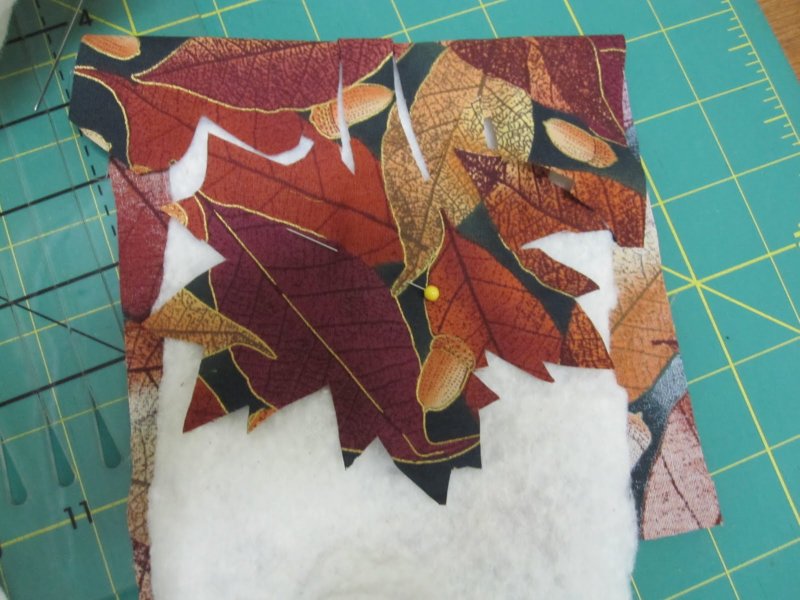 Sew around the edges of the sandwiched leaf.
 Now cut around the edges of the leaf.
 I know this is probably a pretty basic way to do this, but I wanted to show you how I made the free form leaf and how it is attached to the string. Making it two sided allows you to use the garland where both sides are finished.
 And here is the garland, decorating my mantle.
 Thanks for taking the time to view this little tutorial.
Linking up with Finished it Friday